LobsterLaw User Manual (Case Review Workflow)
Note: This manual uses case review as the core workflow to help new users complete a full case review experience from scratch.
I. Launch & Login
Step 1: Launch Application
- Double-click the installed
LobsterLawdesktop shortcut or start menu entry. - First launch may take slightly longer, please wait patiently for loading to complete.
- Double-click the installed
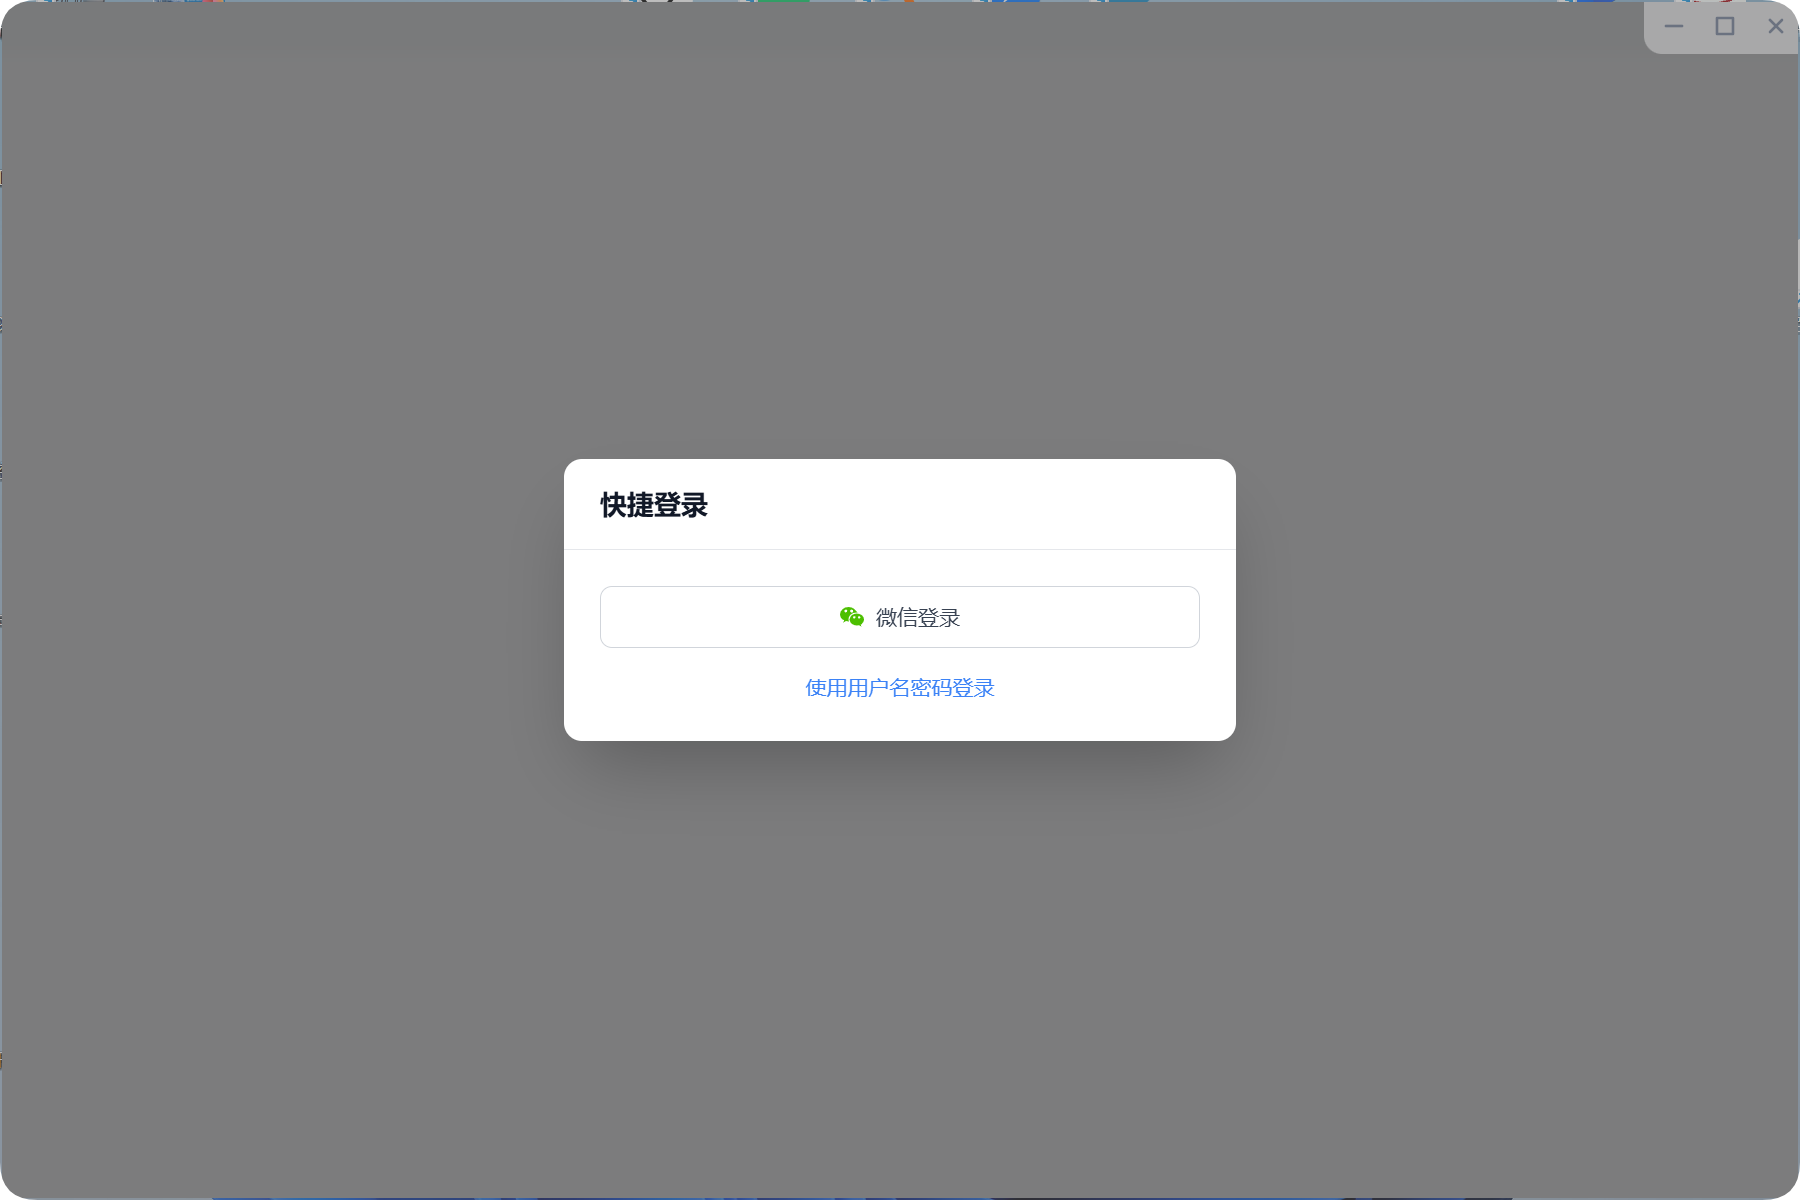
Step 2: Account Login
- Click the "User" button in the bottom left corner and select a login method (e.g., WeChat QR code login).
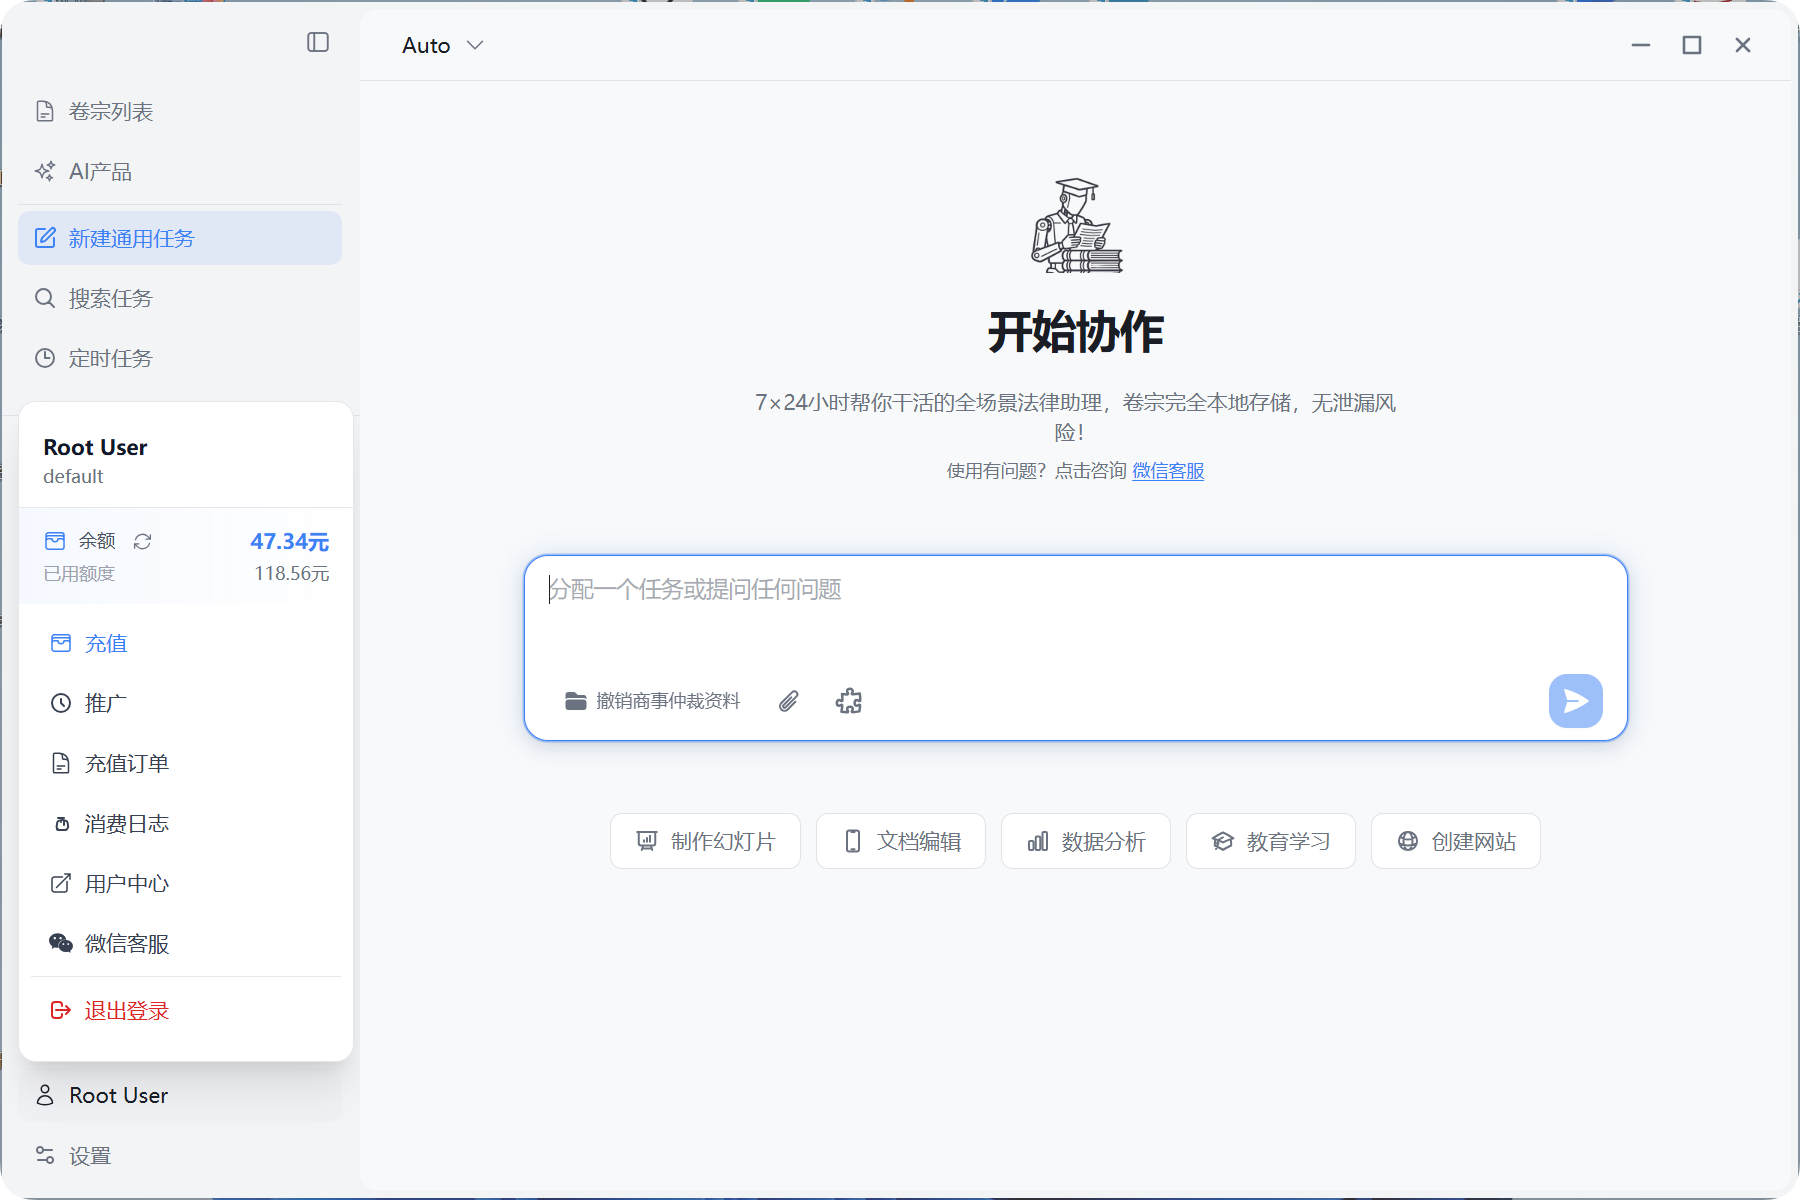
- After successful login, hovering over the user info area in the bottom left will display current account balance and other information.
II. Create Case
- Case List
- Click
Case Listin the left sidebar (the application default homepage is the case list page). - "Re-review": For unanalyzed cases, clicking this will initiate a case analysis task using preset skills to generate review notes/timeline/legal articles/related cases. See III. Intelligent Analysis for details.
- "Review": Clicking this will navigate to the case detail page, displaying all files and historical analysis results for that case. The internal "Case Q&A" button is equivalent to the "Ask" button in the case list.
- "Ask": Clicking this will navigate to the question page for that case, where users can input questions and the system will answer based on the case analysis results.
- "Edit": Clicking this allows modification of basic case information such as case name, number, parties, etc. The system will provide different responses based on different parties.
- "Delete": Clicking this will delete the case, only removing the system's "case" record without affecting local files or analysis results. If you create a new case with the same directory, data can be recovered from local cache.
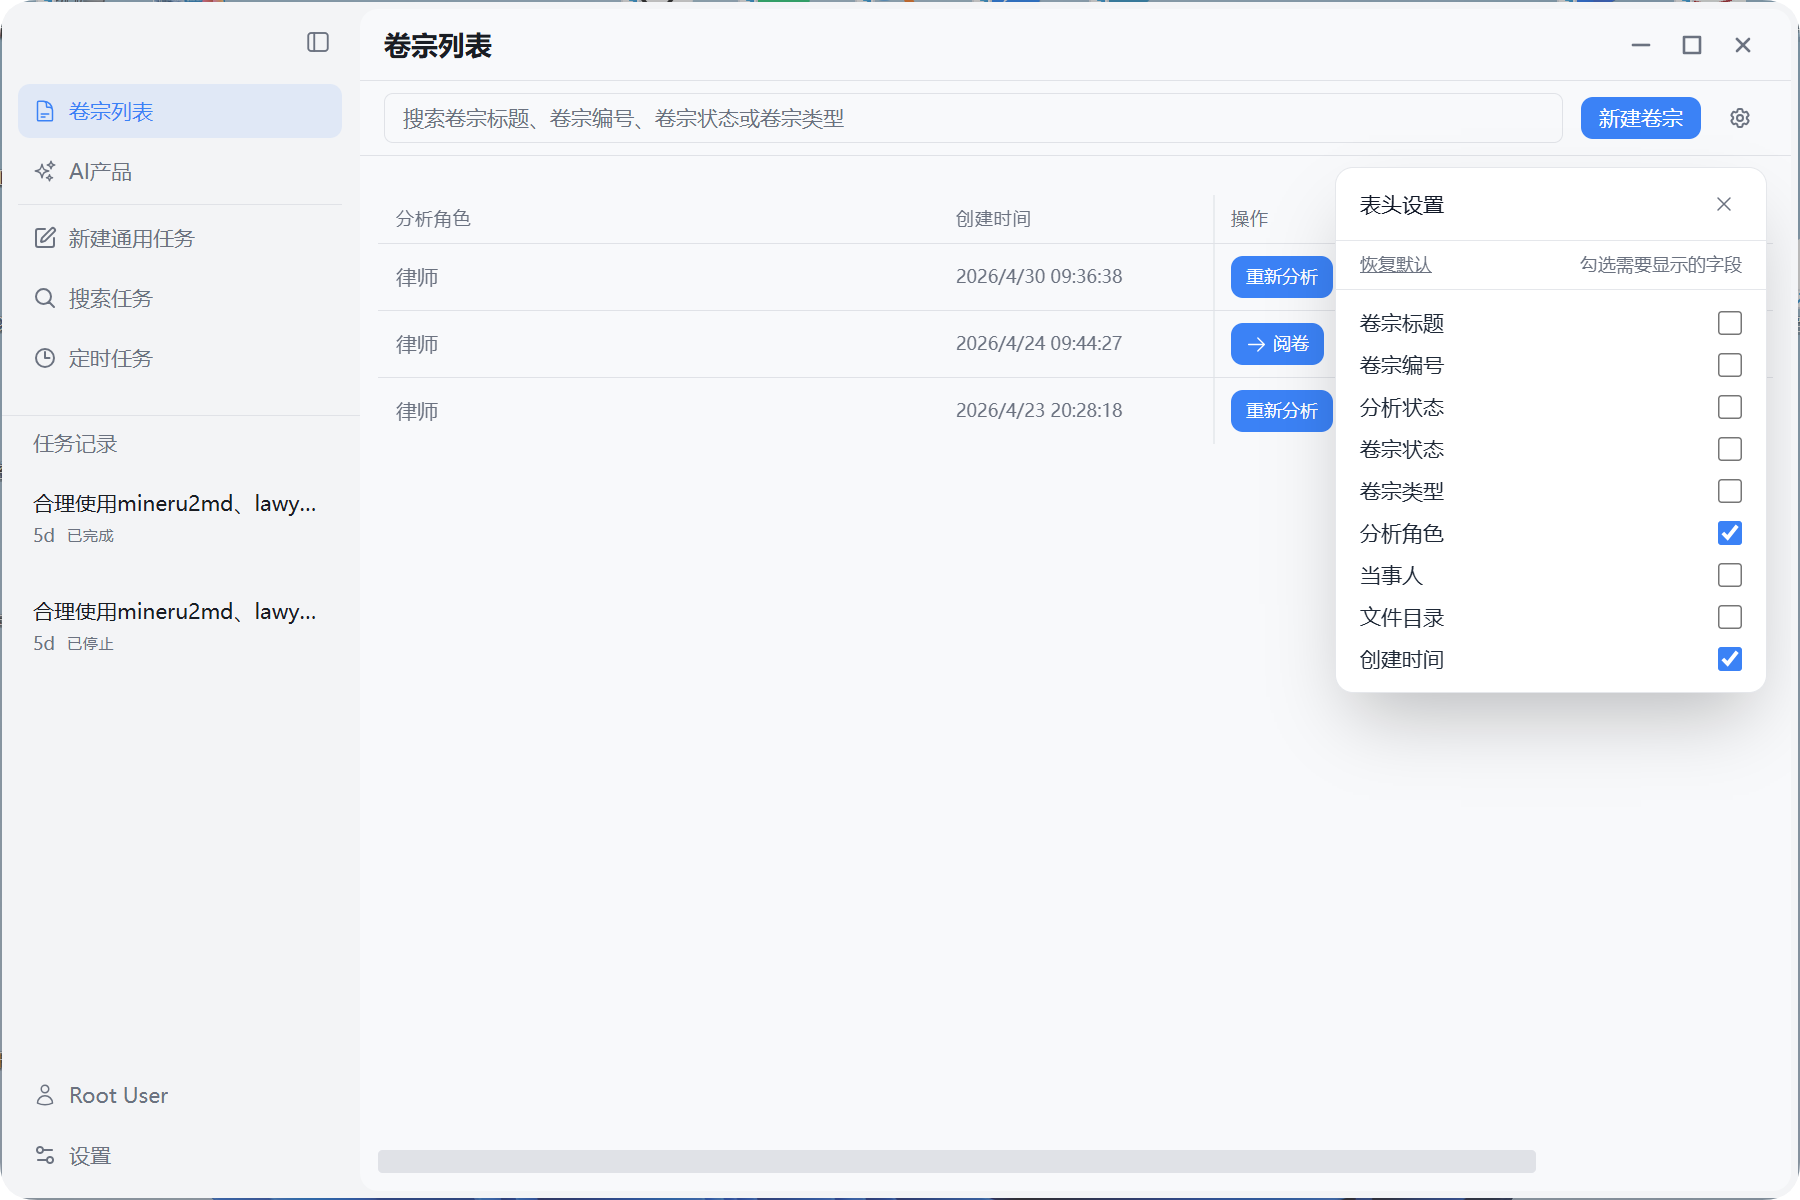
- Click
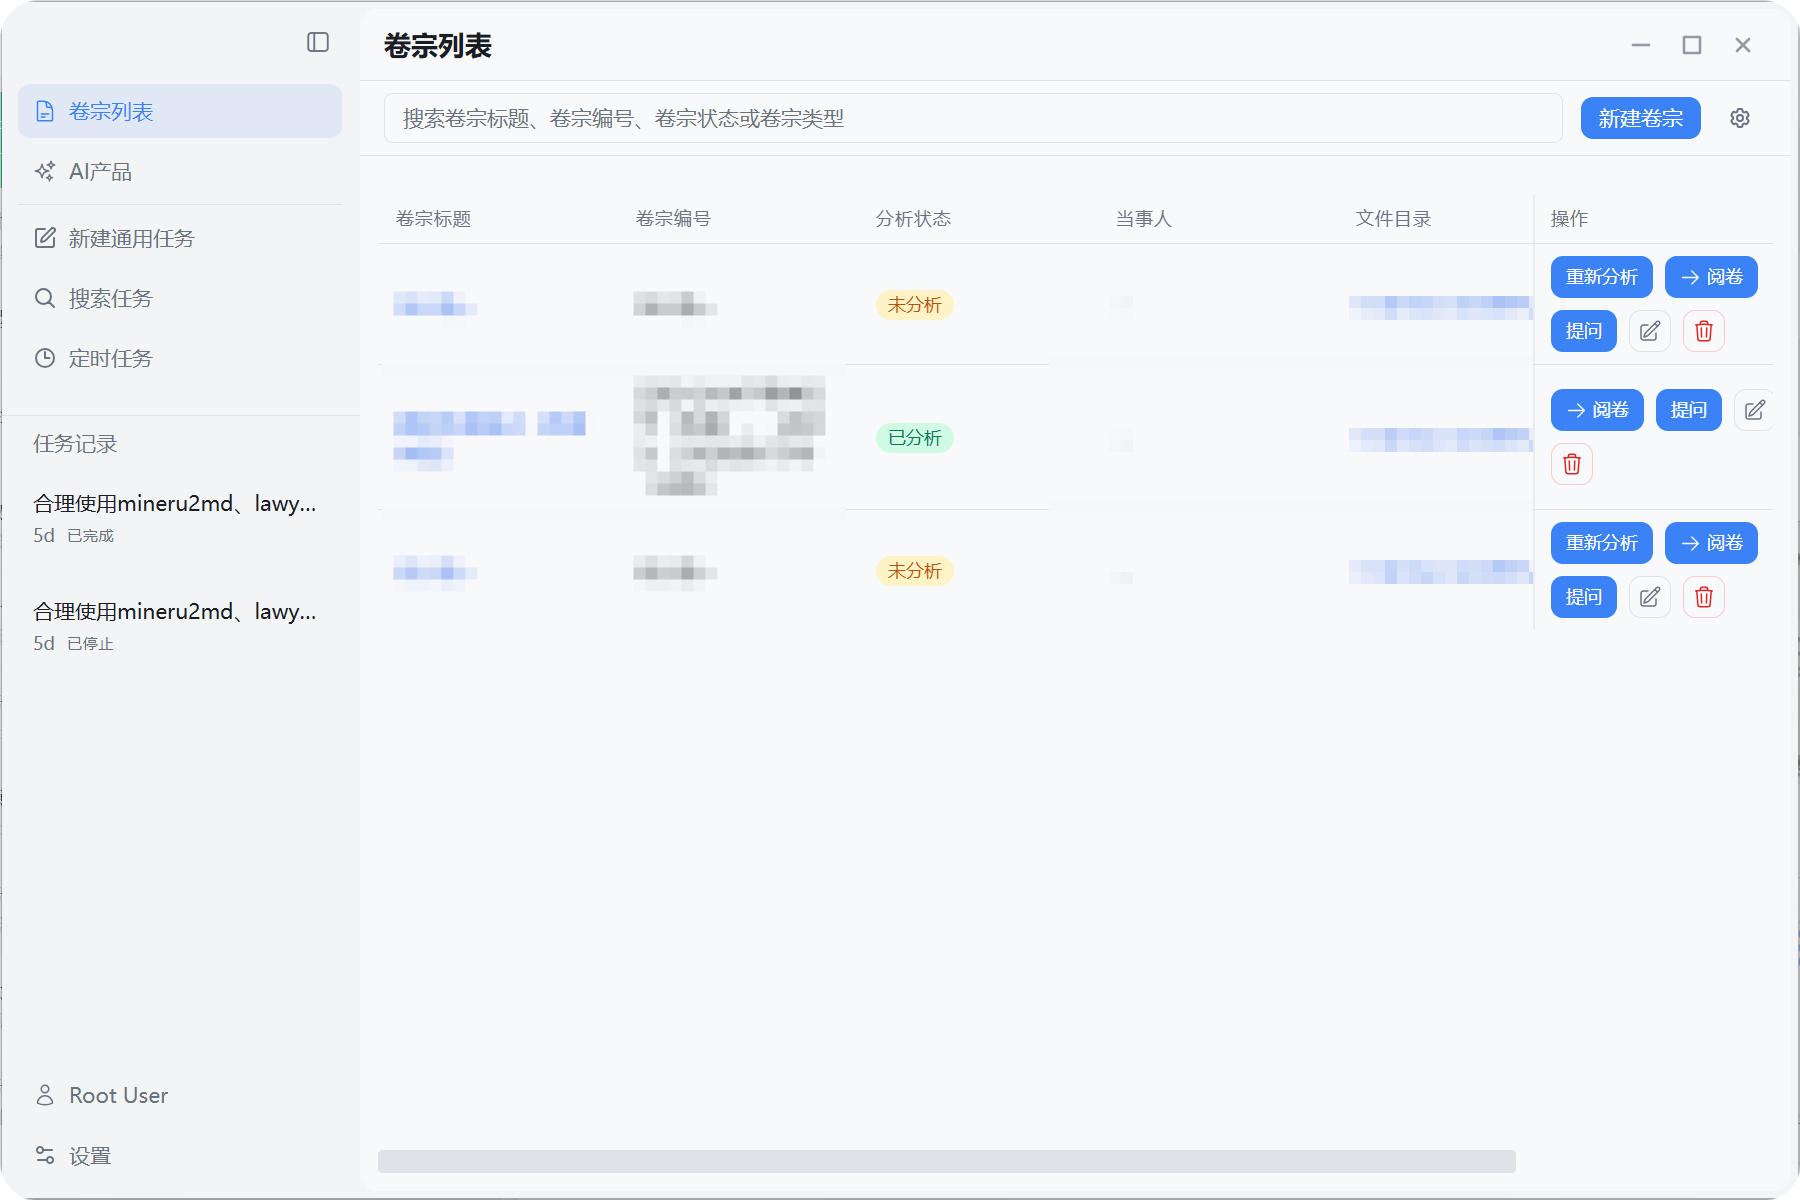
- Click the "Gear" button in the case list to enter the table customization settings page, where you can modify the display columns of the case list page.
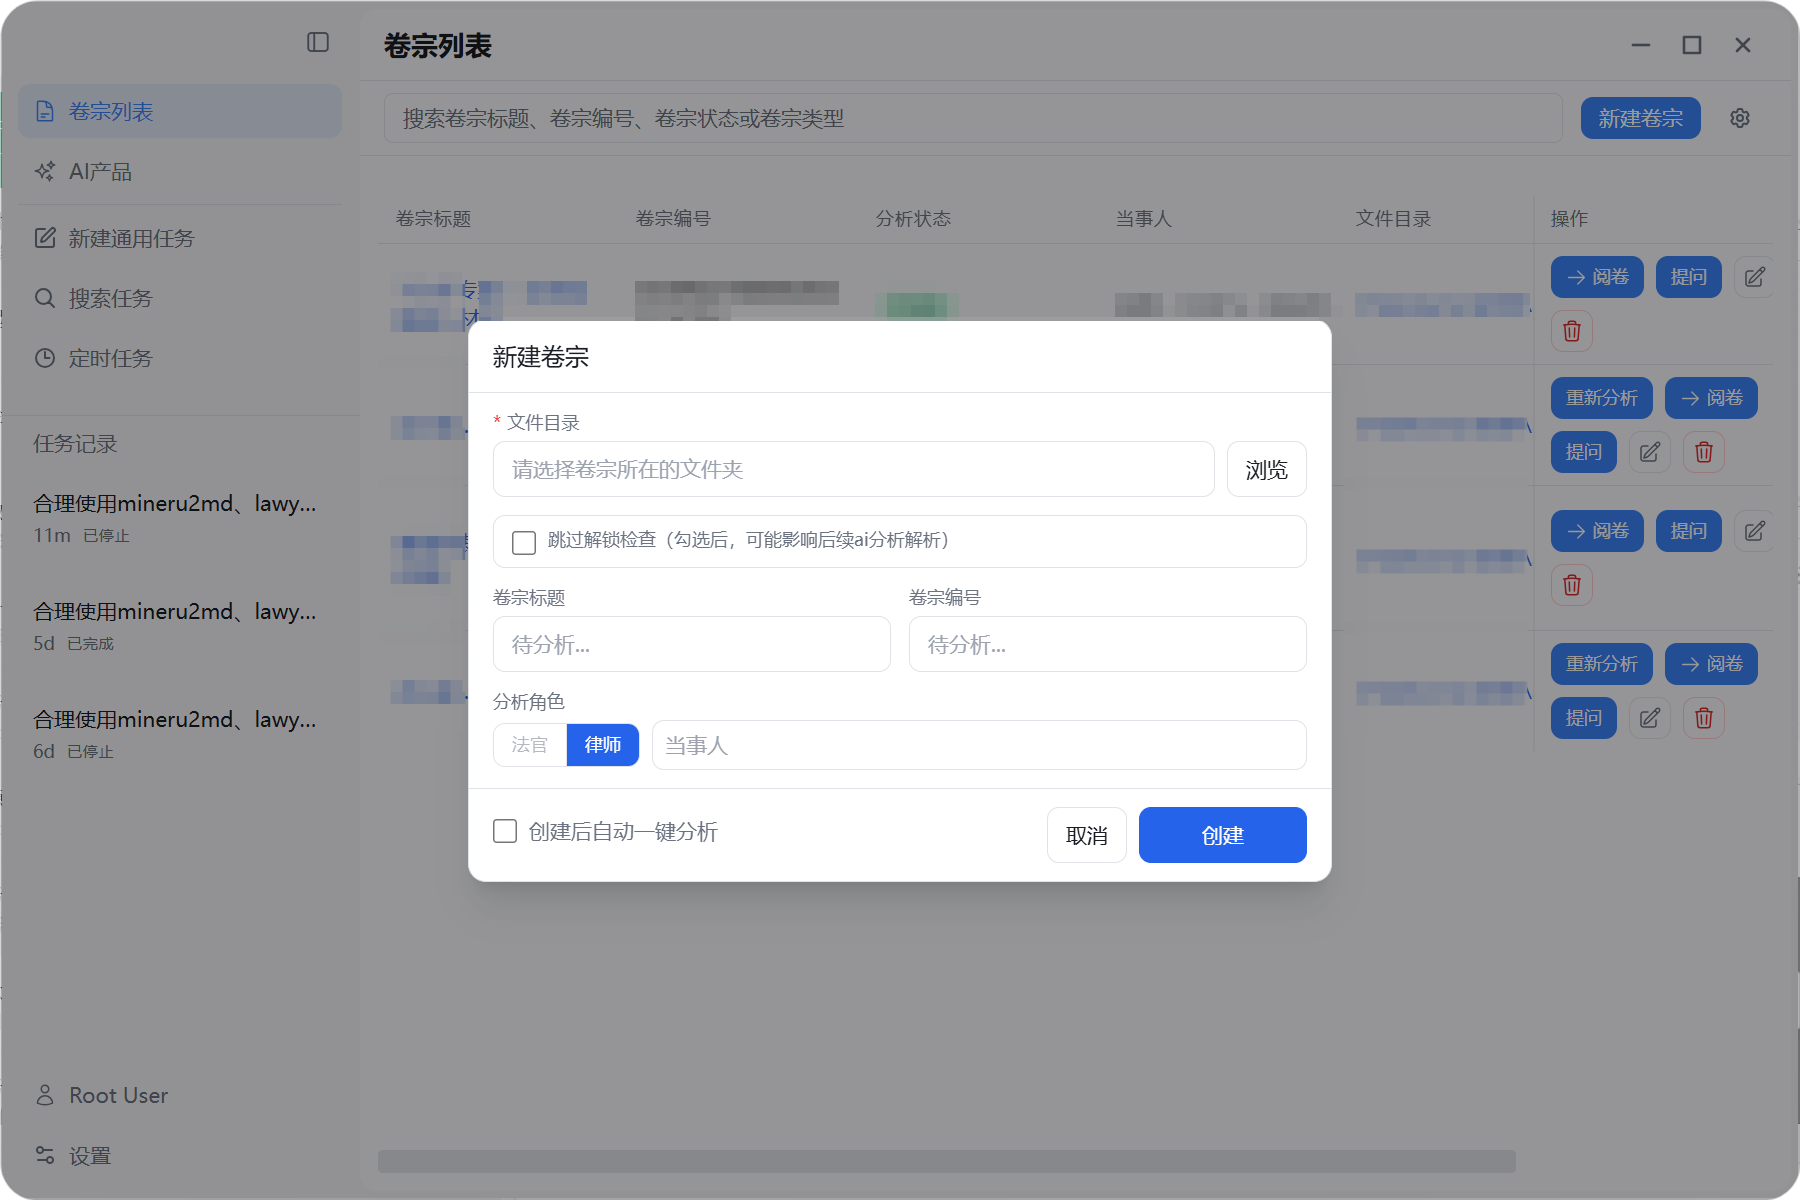
- Create New Case
- Click the blue button "New Case" in the top right corner.
- Fill in the form that pops up:
- File Directory: Required, select a local folder containing all case files you want to analyze.
- Case Title: Optional, can be used for subsequent retrieval. After intelligent review, if a case number is identified, it will be auto-populated.
- Case Number: Optional, can be used for subsequent retrieval. After intelligent review, if a case number is identified, it will be auto-populated.
- Analysis Role: Judge / Lawyer, etc. Currently only supports the Lawyer role.
- Auto One-Click Analysis After Creation: When checked, the system will automatically initiate an analysis task after creating the case.
- Skip Unlock Check: When unchecked, if encrypted PDF files exist, the system will require the user to enter the PDF password. The system can only access and analyze the PDF after unlocking. When checked, the system will no longer attempt to request PDF unlock operations.
- Click "Create" to complete creation.
III. Intelligent Analysis
The system will automatically call preset skills to systematically analyze the current case directory, generating case summaries, timelines, review notes, legal articles, related cases, etc.
1. Start Analysis from Case List Page
On the case list page, click "Re-review" or check Auto One-Click Analysis After Creation during "New Case" to enter the system analysis workflow:
- Suitable for initiating an analysis task for a new case.
- Operation steps:
- Find the target case.
- Click the "Re-analyze" button in the row.
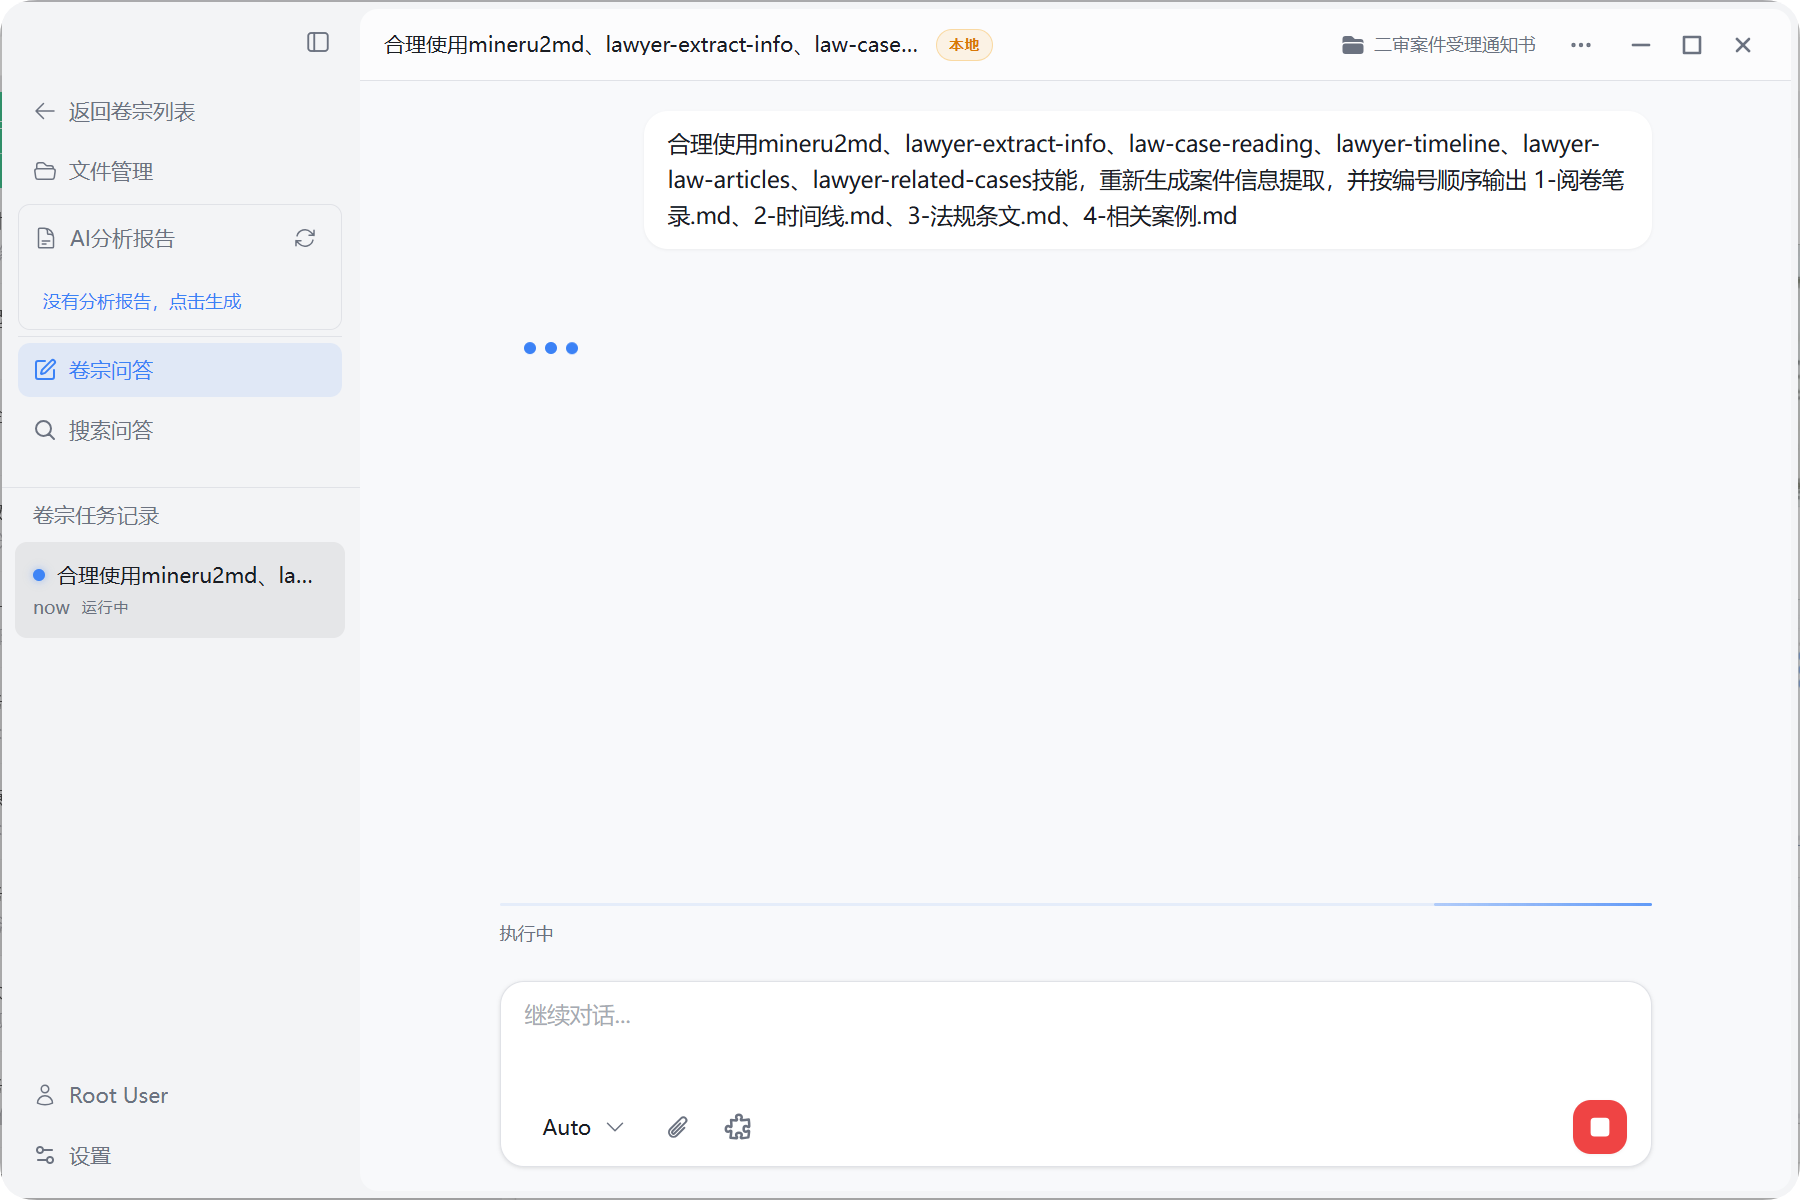
- Automatically jump to chat and start analysis.
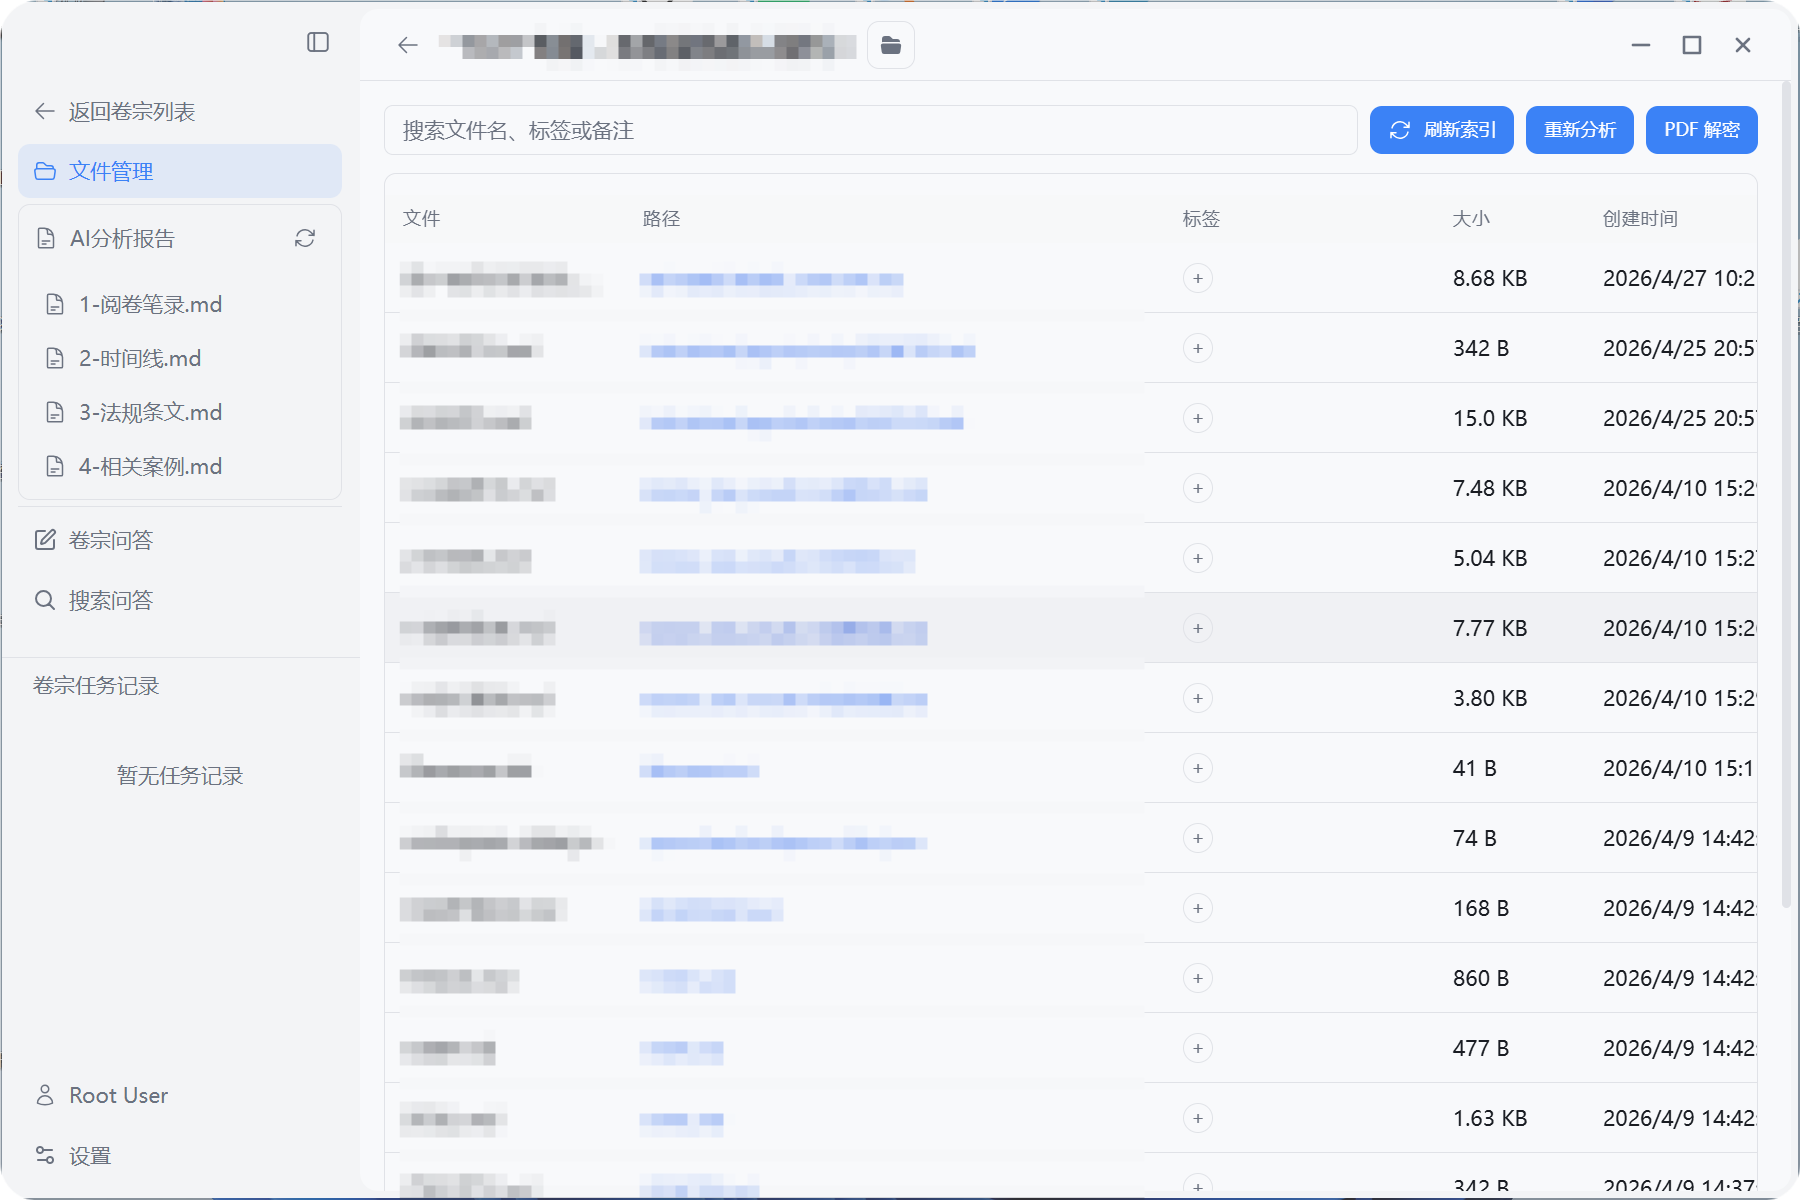
2. Start Analysis from File Management Page
After starting a case review, each case's file management page top toolbar also has a "Re-analyze" button:
- Suitable for confirming/adjusting directories or files in file management before initiating analysis.
- Suitable for scenarios requiring file management, where you can tag each file or set remarks for subsequent retrieval.
- Workflow:
- Confirm the current working directory is correct at the top of file management.
- Click the "Refresh Index" button at the top to confirm all files are correctly placed in this directory.
- (Optional) Click the "PDF Decrypt" button at the top to unlock all password-protected PDF files.
- Click the "Re-analyze" button at the top.
- Automatically jump to chat and start analysis.
IV. View Analysis Results (AI Analysis Report)
After one-click analysis is complete, the system will generate analysis result files in the case directory and provide reading access within the application.
Wait for Analysis Completion
- In the chat, you can see system processing progress and intermediate output.
- After analysis is complete, corresponding result files will be generated in the case directory (such as Markdown reports in the
lobster_law/resultdirectory).
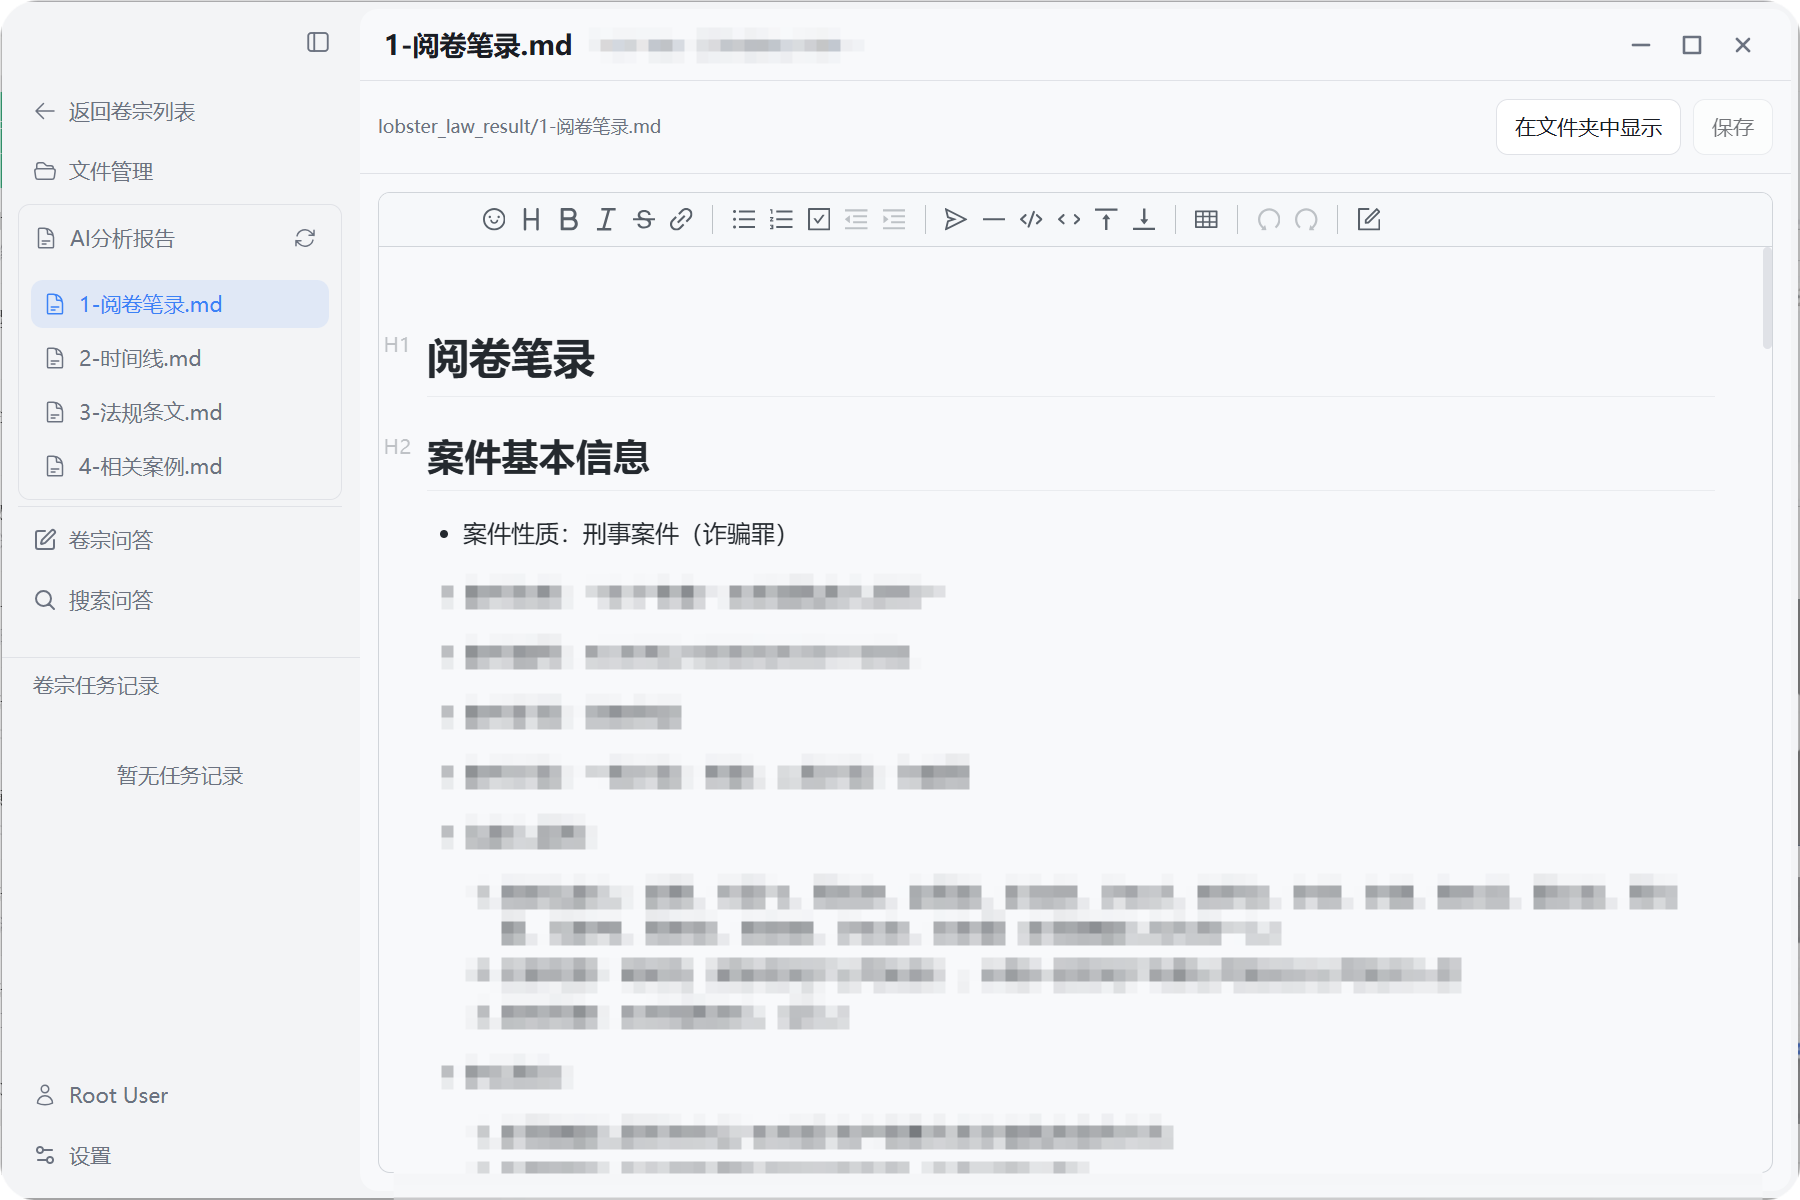
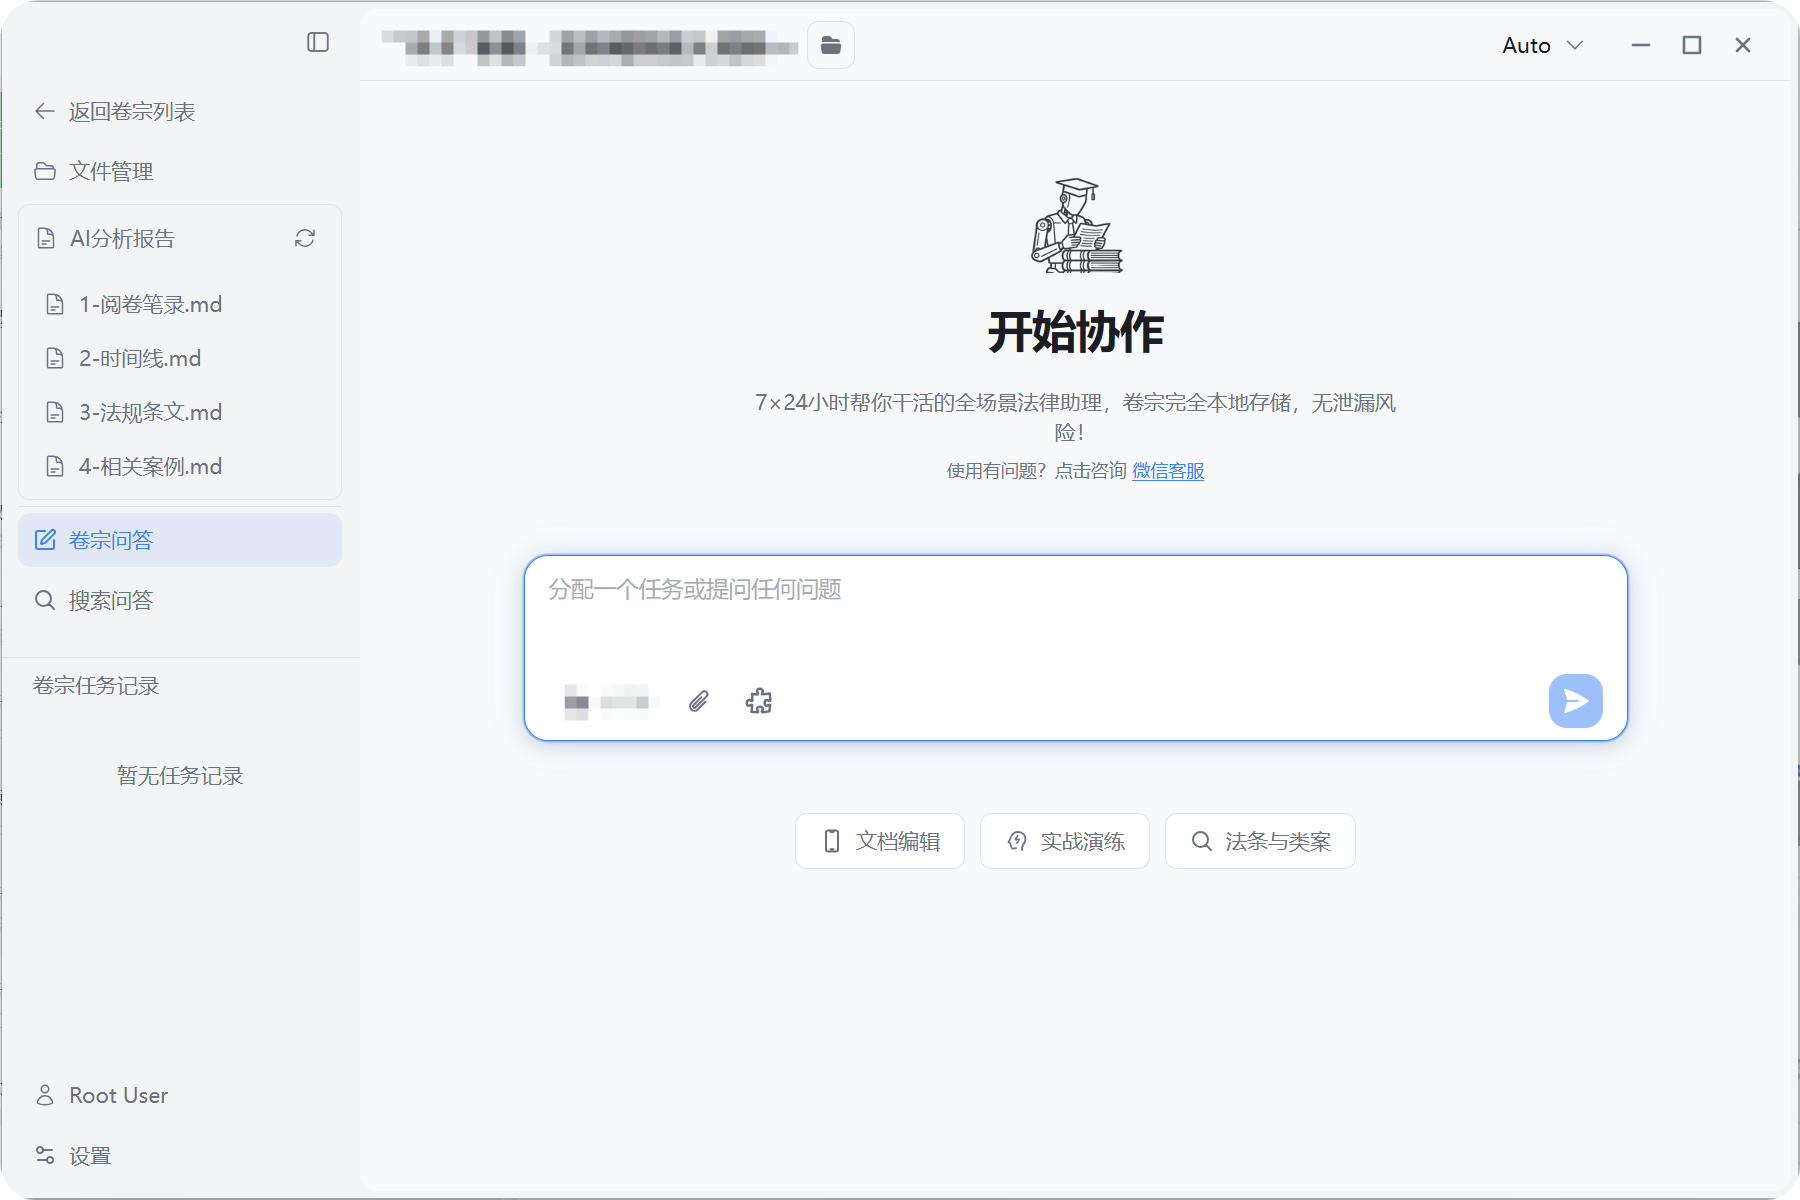
Open AI Analysis Report from Sidebar
- Keep current in case mode.
- In the left sidebar, find the "AI Analysis Report" area.
- After analysis is complete, the list of generated report files will be automatically displayed (e.g., case summary, timeline, review notes, etc.).
- Click any file to open and read in the main area.
- If analysis ends without errors but no report files appear, try manually clicking the refresh button.
V. Continue Dialogue & Deep Q&A
After completing basic analysis, you can continue deep Q&A around the case:
Continue Asking Questions on Session Page
- For example:
- "Based on the case materials, help me organize a list of trial key points."
- "Pick out key evidence nodes from the timeline and briefly explain."
- The system will answer based on the current case working directory and previously generated analysis results.
- For example:
Create New Session but Retain Case Context
- In case mode, click the "New Task" button on the left to create a new session.
- The case-bound working directory will continue to be effective, allowing you to start multi-round dialogues on different topics for the same case.
VI. Return to Case List & Switch Cases
Return to Case List
- In case mode, click "Return to Case List" at the top of the left sidebar.
- The current case context will be closed, returning to the list of all cases.
Switch to Other Cases
- Select another record in the case list, repeat the "Analyze/Review" process.
VII. Frequently Asked Questions
Q: What if one-click analysis doesn't produce results immediately?A: Depending on case size and machine performance, analysis time will vary. Suggestions:
- Confirm network is normal;
- Check if there are error messages in the chat;
- If it fails multiple times, you can screenshot the error message and contact support via the "Click to Consult WeChat Customer Service" on the homepage.
Q: Can I continue using original cases on a new computer?A: Yes, as long as you on the new computer:
- Copy the original case directory over;
- Recreate a case in the application and point to that directory;
- You can then view historical AI analysis reports and continue dialogue.
- USB drive is a recommended usage method, enabling easy cross-device synchronization of case analysis results.
If you encounter any issues during actual use, it is recommended to:
- Contact technical support via "Click to Consult WeChat Customer Service" in the new task;
- Attach screenshots of key pages and brief descriptions, which can significantly speed up problem identification and resolution.